Onboarding a New User to the Application
This document outlines the steps to onboard a new user to the application using Single Tenant Microsoft Authentication.
Step 1: Send an Invitation to the User from Microsoft Admin Center
-
Log in to the Microsoft Admin Center:
- Go to https://entra.microsoft.com.
- Log in using your administrator credentials.

-
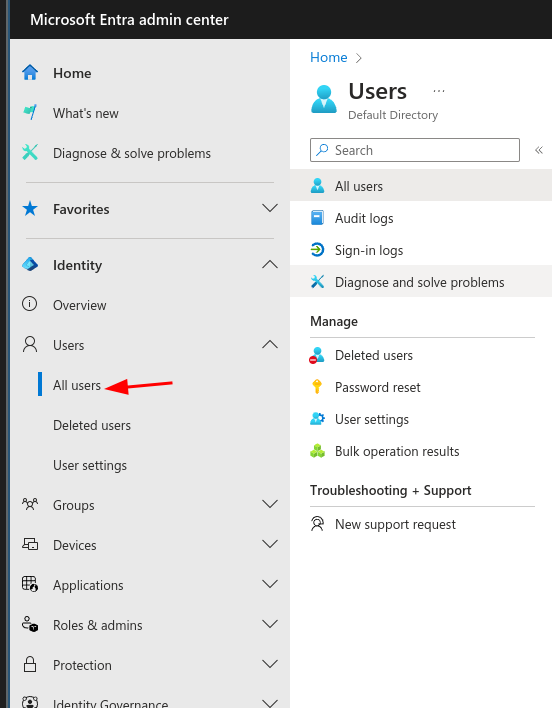
Navigate to the 'Users' section:
- From the left-hand menu, select Users > All users.
-
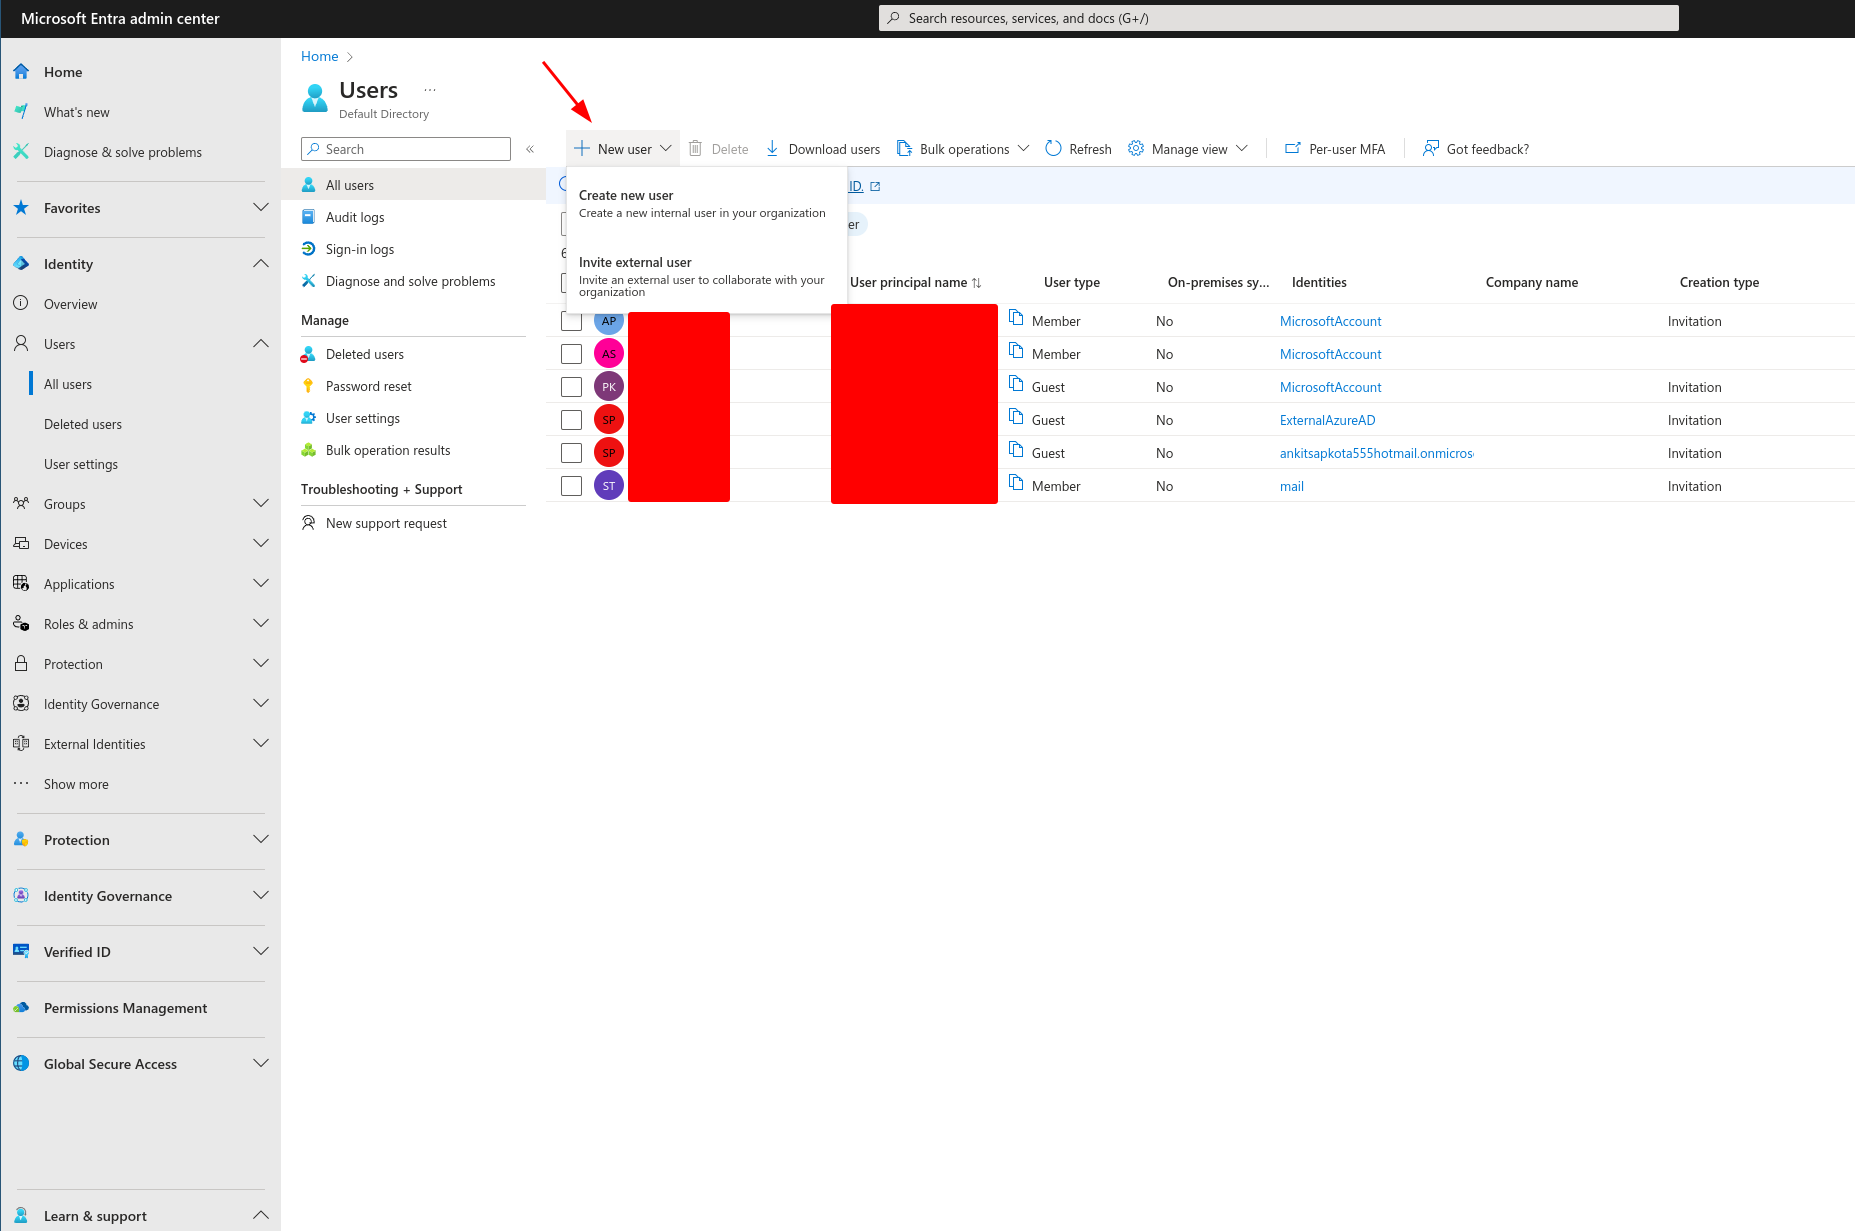
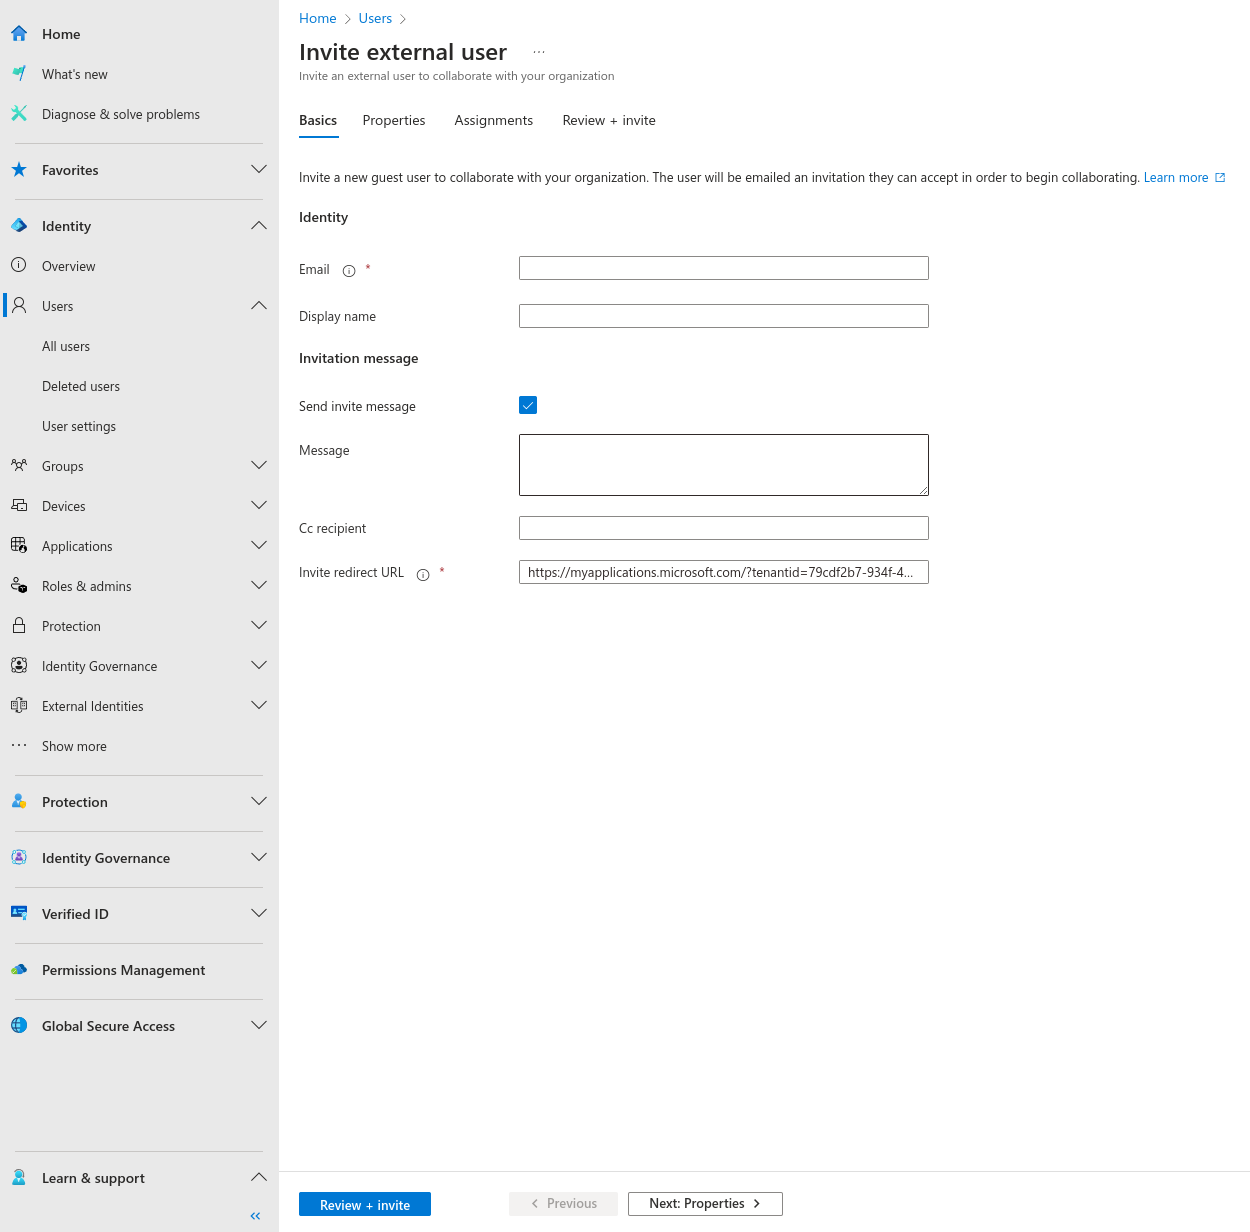
Invite a New User:
- Click on New User.
- Fill in the required details (Name, Username, etc.).
- In the Roles section, choose the appropriate role for the user.
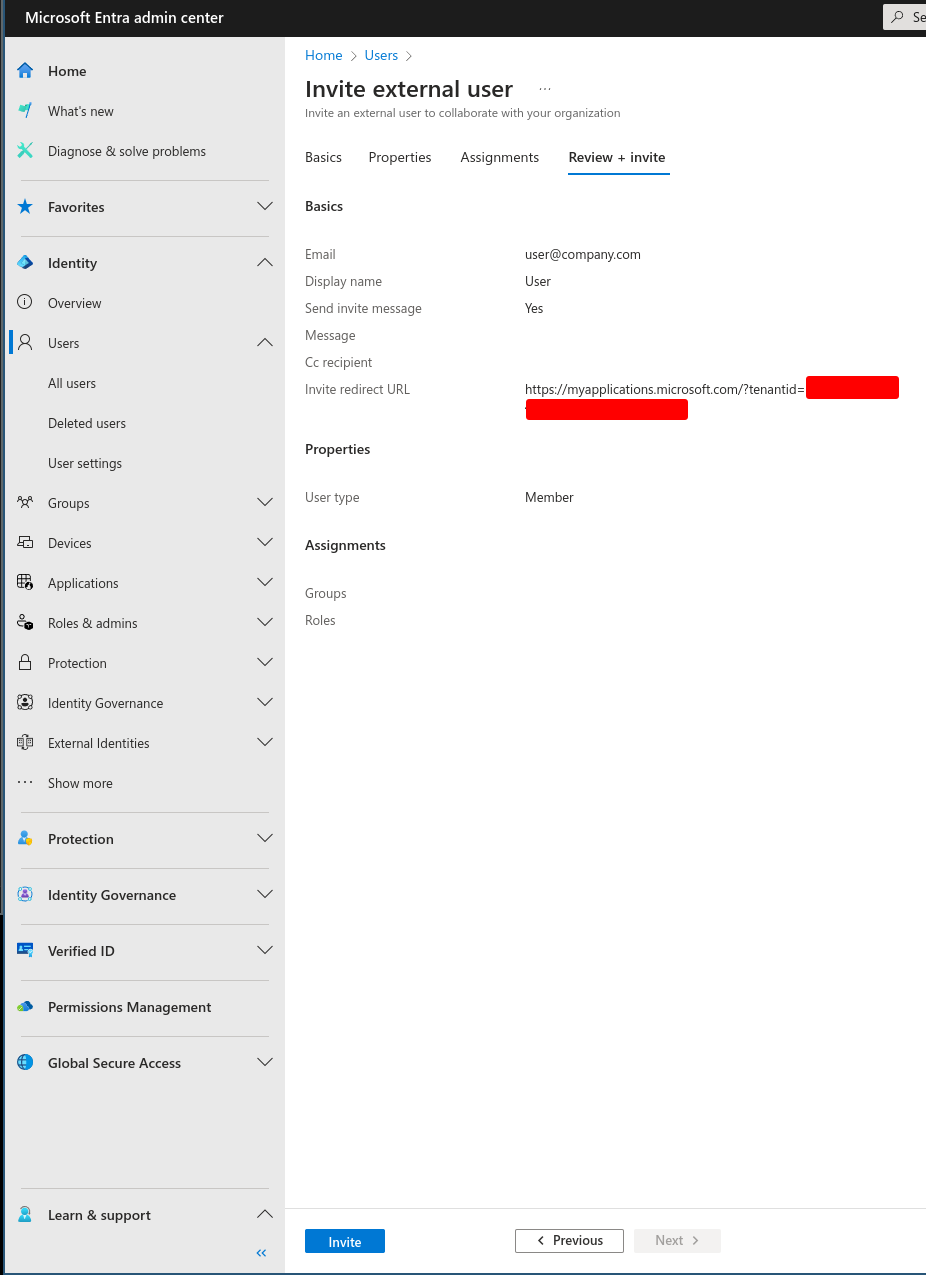
- Click Review + Invite.
-
Review and Finish:
- Review the details.
- Click Finish adding to send the invitation.
Step 2: Add the User to the Application with the Required Role
-
Wait for the User to Accept the Invitation:
- The user will receive an email with the invitation link.
- Once the user accepts the invitation, they will appear in your organization's All Users list.
-
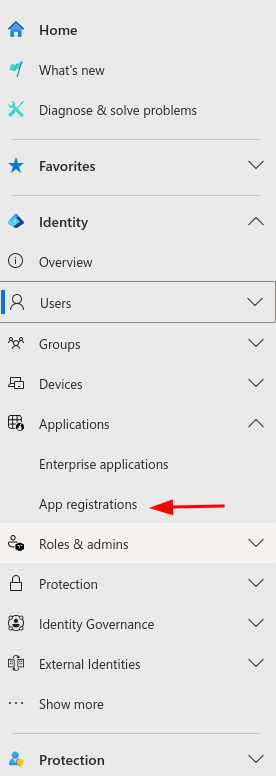
Navigate to the Application through App Registrations:
- Go to Azure Active Directory > App registrations.
-
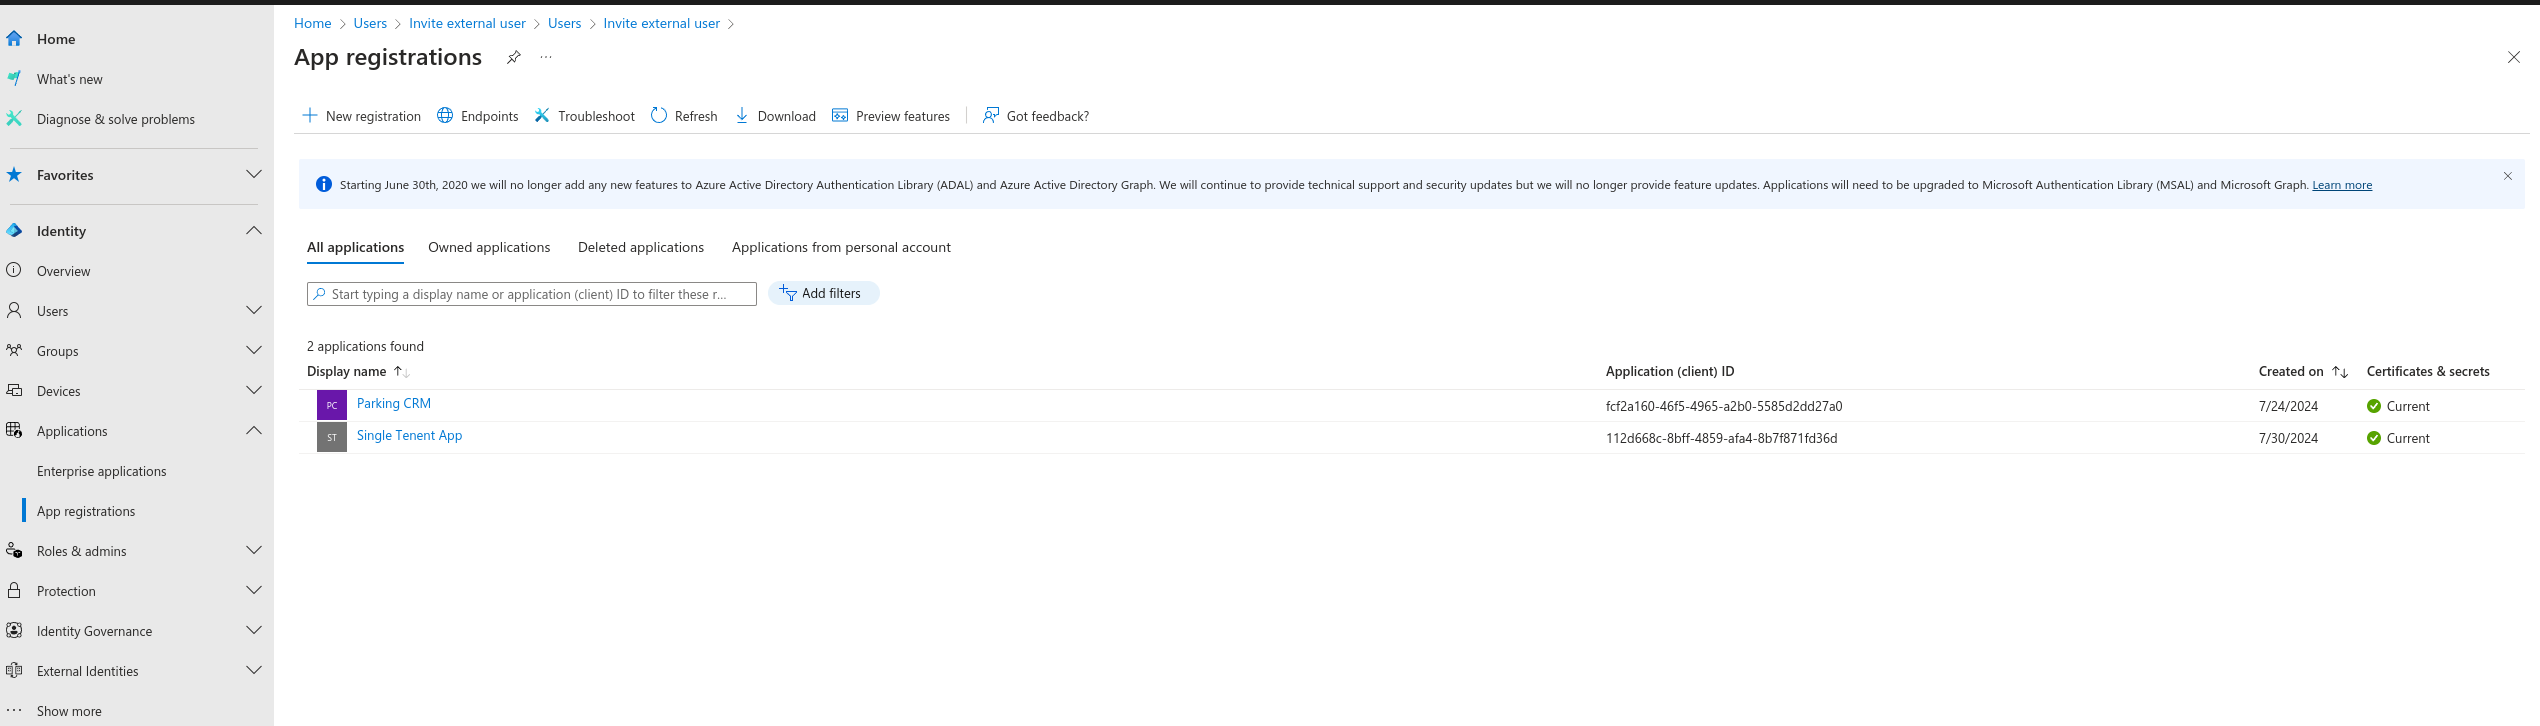
Select the Correct Application:
- Select the intende application from the list.
-
Go to Managed Enterprise Application:
- On the application's overview page, select Managed application in local directory.

-
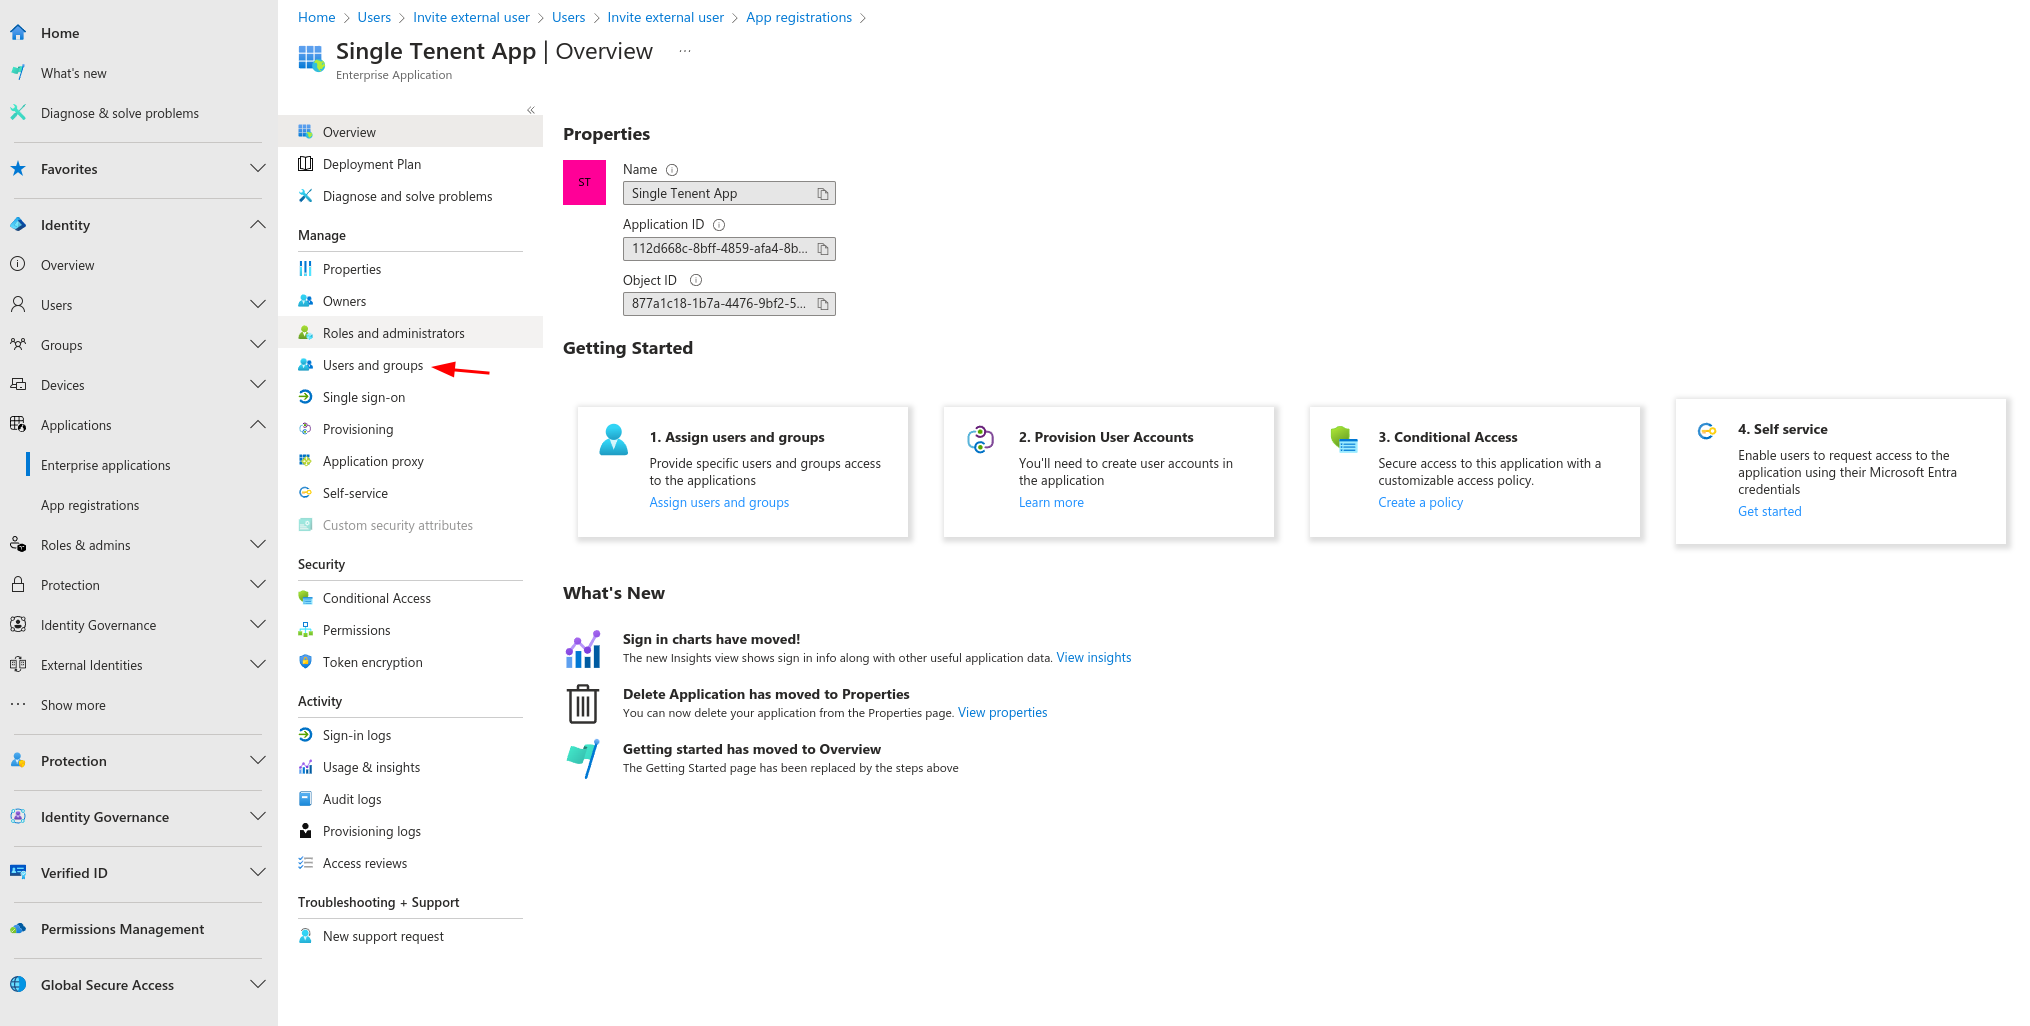
Add the User to the Application:
-
From the Managed Enterprise Application page, navigate to Users and groups.
-
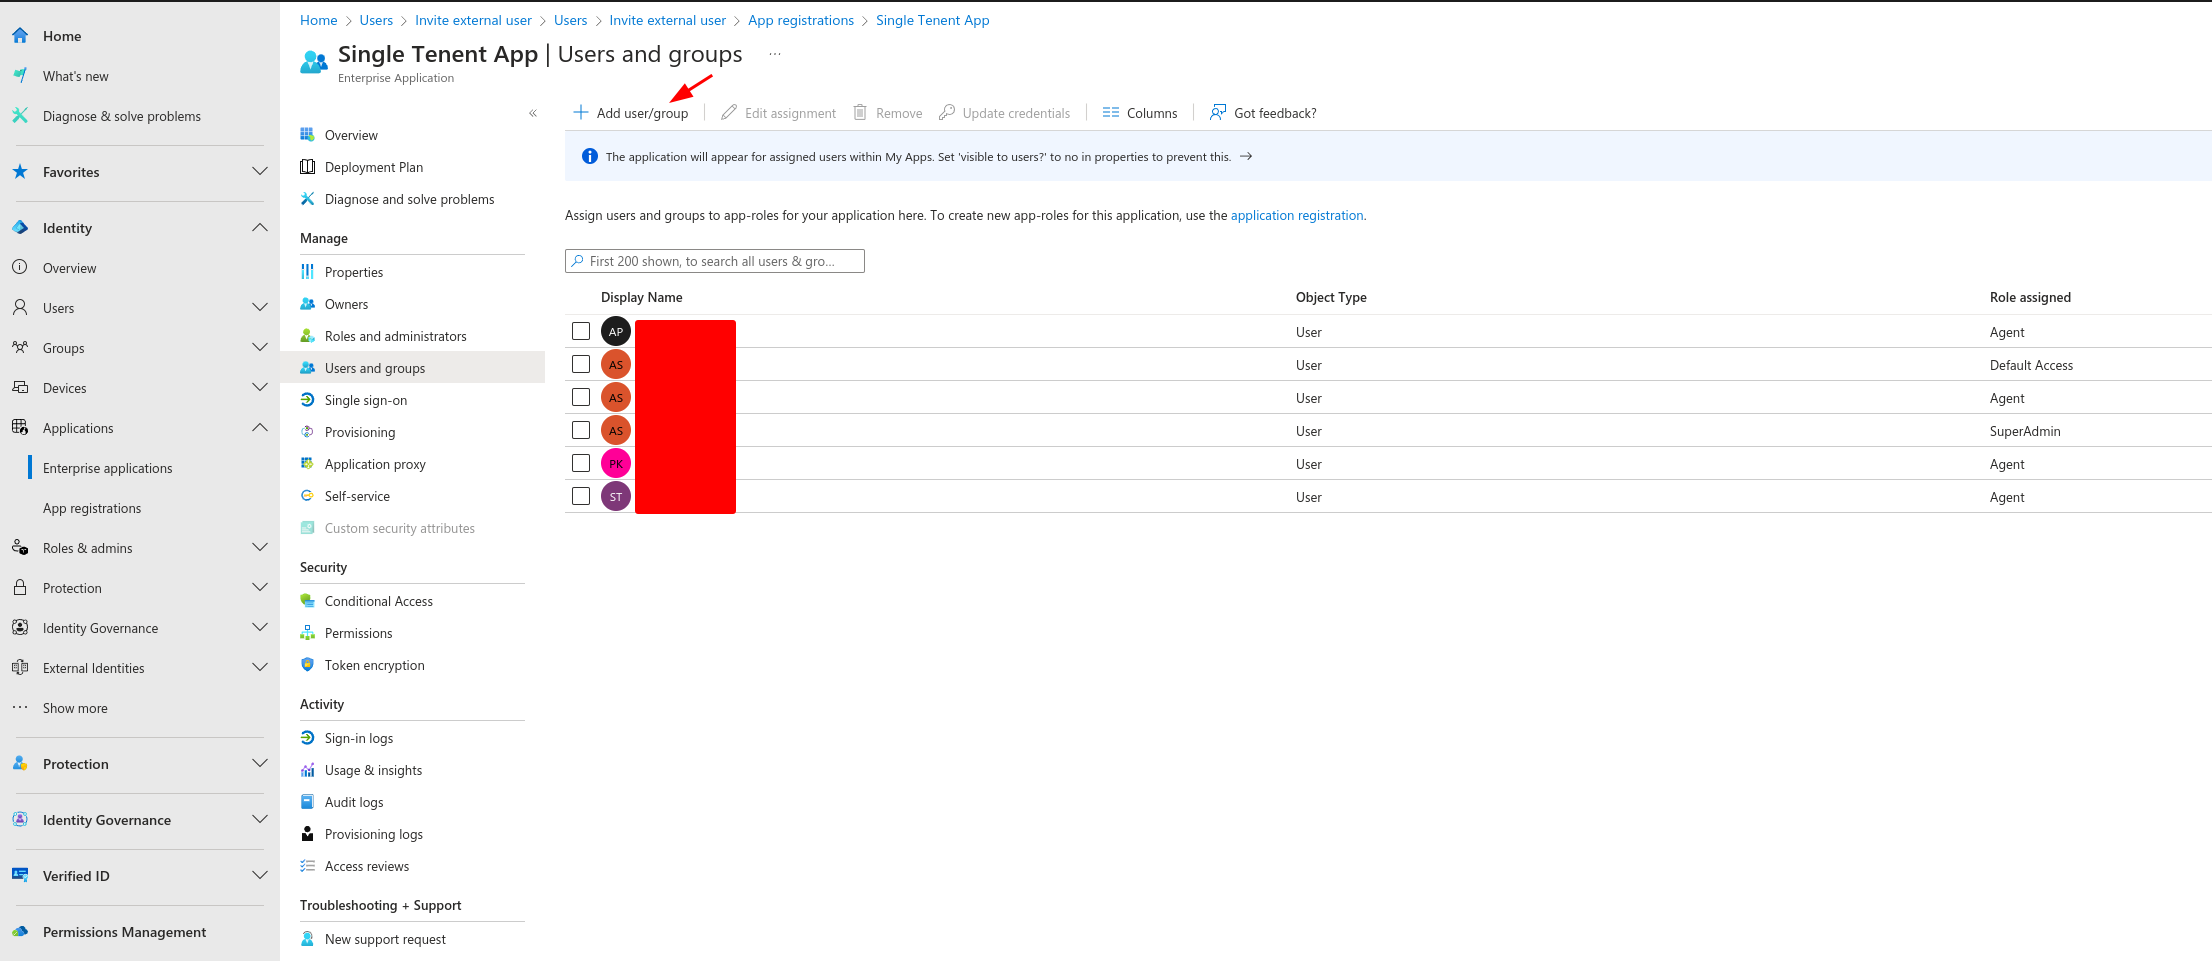
Click on Add user/group.
-
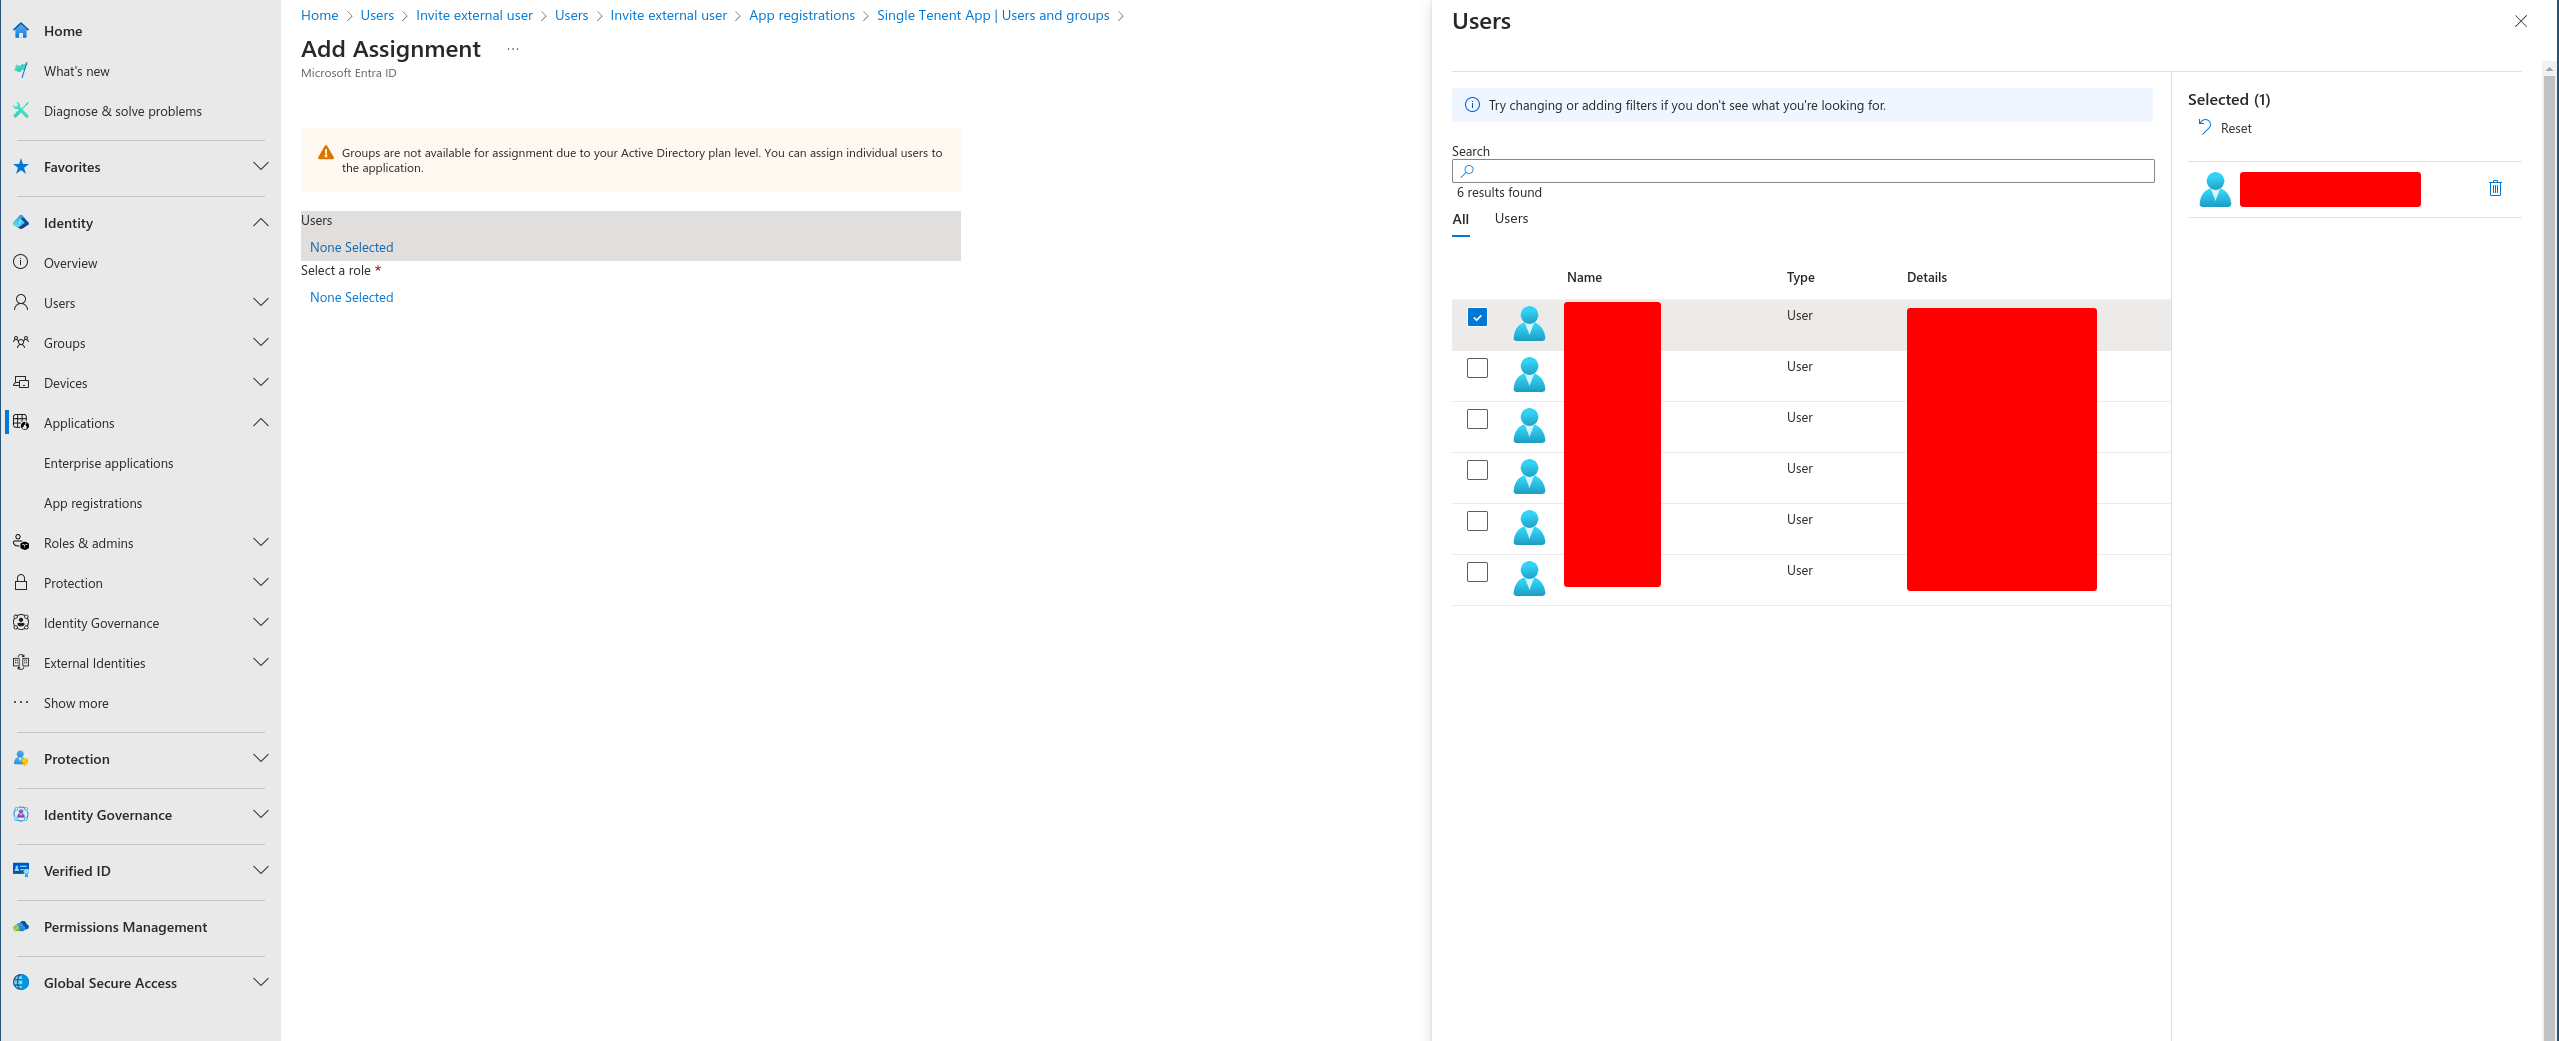
Search for the user and select them.
-
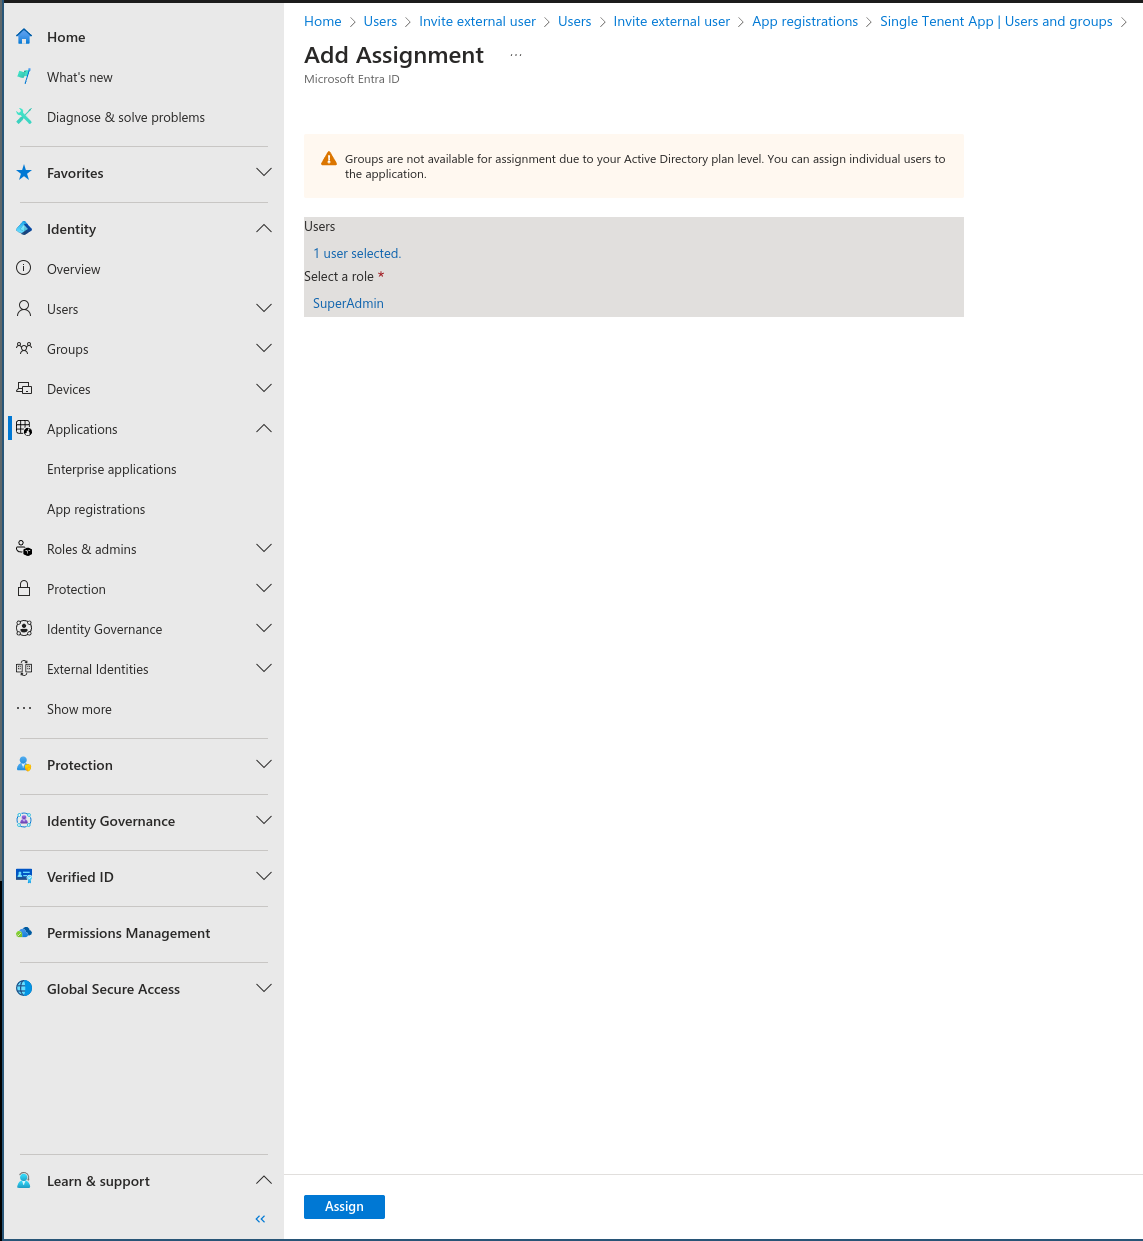
Assign the required role by selecting the appropriate role from the Select a role dropdown.
-
-
Confirm Role Assignment:
- Click Assign to save the changes.
Conclusion
The new user has now been successfully onboard and granted the required role to access the application. Now, the user can login to the platform.